
Enter Billing Codes
If billing codes are configured, the Billing Details screen opens - either after a user logs in successfully or before a user releases a print job - depending on the server configuration. For more information relating the configuration, refer to Billing Codes. The code entered after login applies to copy and scan jobs.
If an account is configured with only one available billing code to charge against, and billing codes are required, then
that code is automatically selected and the Billing Code screen does not appear unless the "Billable" option is enabled.
You can change the title of the screen via Billing Codes Equitrac settings.
-
Click the
Billing Code field, an onscreen keyboard displays, allowing you to enter search criteria. Enter
the billing code, if required as configured in the Equitrac server:
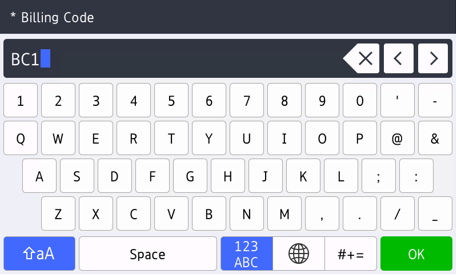
The keyboard can be dismissed to select from the resulting list of billing codes if it covers some of the results. The list contains the first 50 codes that match your search. Use page navigation buttons to browse through billing codes and select the correct code, which then populates the Billing Code field.
-
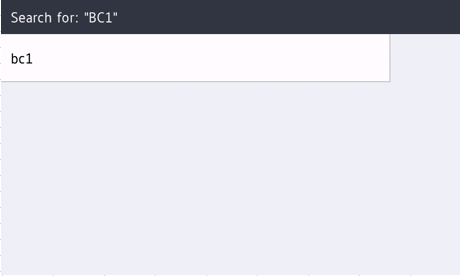
Click
OK to dismiss the keyboard. A list of billing codes matching the search appears:
 If there is no billing codes found, the device shows a "No Result Found" message:
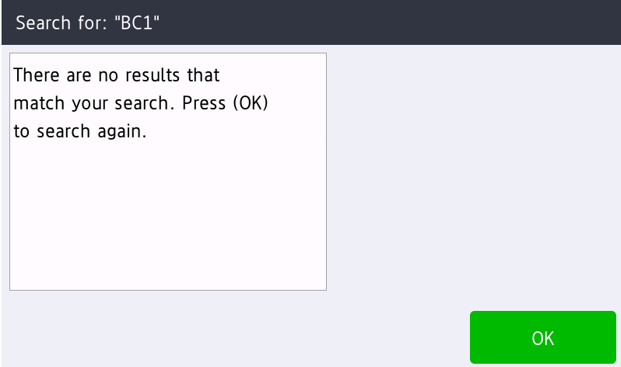 You can try performing a new search by pressing the Back button.
 -
Select a code from the list, the main
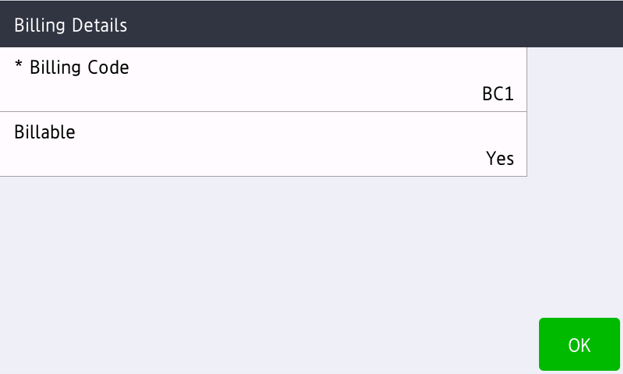
Billing Codes appear with the code selected:
-
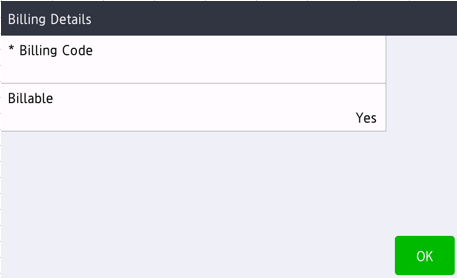
If configured from the server, the
Billable option appears. Select whether the job is
Billable or not by hitting the
Billable button. The default value is
Yes. Hit the button and select
No if you want to change the value to No.
This option does not control whether the transaction is billed or not. It determines if the billed transaction is marked as Billable in reports and only applies to transactions that are billed to a billing code.
- Hit the OK button to continue. Your billing code is applied.