Quick setup Device Registration Service instructions for AutoStore
BEFORE YOU START: Administrative access to the server is required. All steps outlined are performed from the server where the installation takes place. In Start menu under Administrative Tools, go to and turn off Administrators.
-
Install DRS and create the application in DRS.
-
Click the green (
 ) button at the left, at the top of the
Applications pane.
) button at the left, at the top of the
Applications pane.
The Add Application function loads into the right pane.
Note:Required fields are marked with red asterisks.
-
Click the Save button (
 ) at the top of the Add Application
screen.
) at the top of the Add Application
screen.
The Application Profile added message appears.
-
Click the green (
-
Add the device in DRS.
-
Click the green () button on the left, at the top of the
Devices pane.
The Add Device function loads into the right pane.
-
Click the Save () button at
the top of the Add Device pane.
-
Click the green (
-
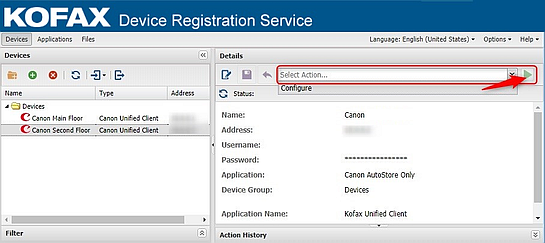
Configure installed Unified Client for Canon client application onto the device.
-
From the drop-down list at the top of the
Details pane, select the
Configure option. For details, see Unified Client for Canon actions reference
Note:
To go back to default values for assets; you must set and resync.
-
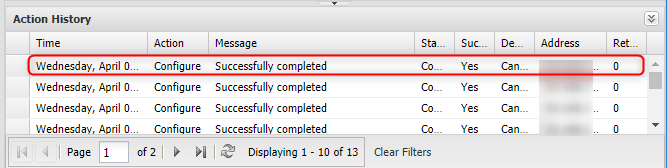
Click the Run Action button
 . You can follow deployment status feedback under
Action History.
. You can follow deployment status feedback under
Action History.
The Configure action may take a few moments to complete. Once finished, a Successfully completed message appears in the Action History pane at the bottom of the screen.
-
From the drop-down list at the top of the
Details pane, select the
Configure option. For details, see Unified Client for Canon actions reference