Add Site Bindings in IIS
Do the following to add certification and site bindings in IIS:
-
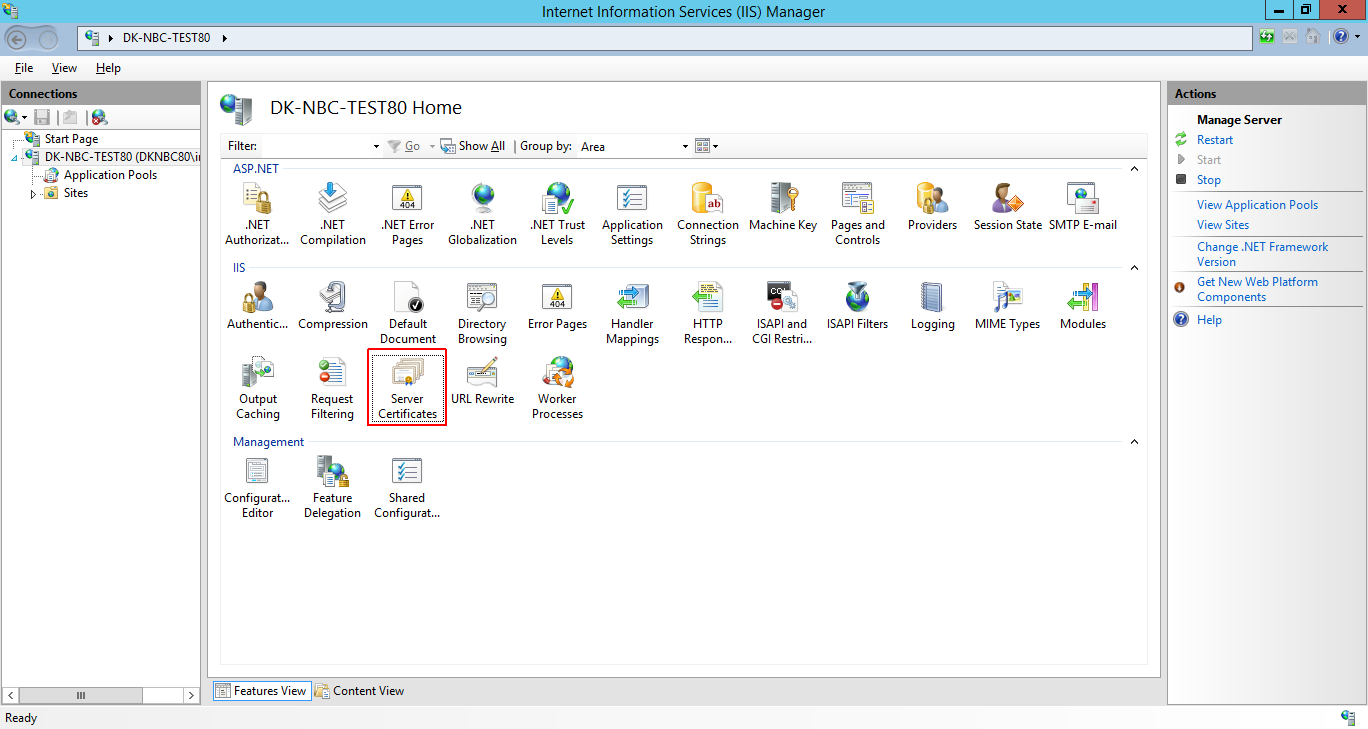
In the IIS section, double-click Server
Certificates.
-
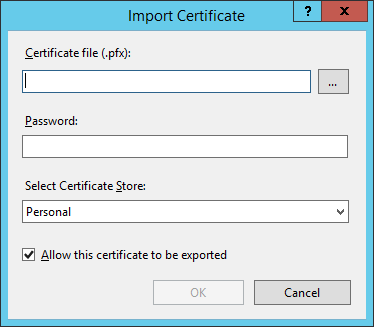
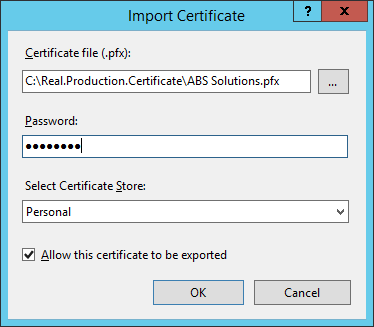
Click the browse (...) button and locate the certificate
(.pfx) file, and then click
Open.
-
Enter the Password for the certificate, and click
OK.
-
The Server Certificates list should now show the installed
certificate.

-
In the Connections menu, under
Sites, click the BusinessConnect site, and then click
the Mobile Server nod, and then click Bindings in the
Actions pane.
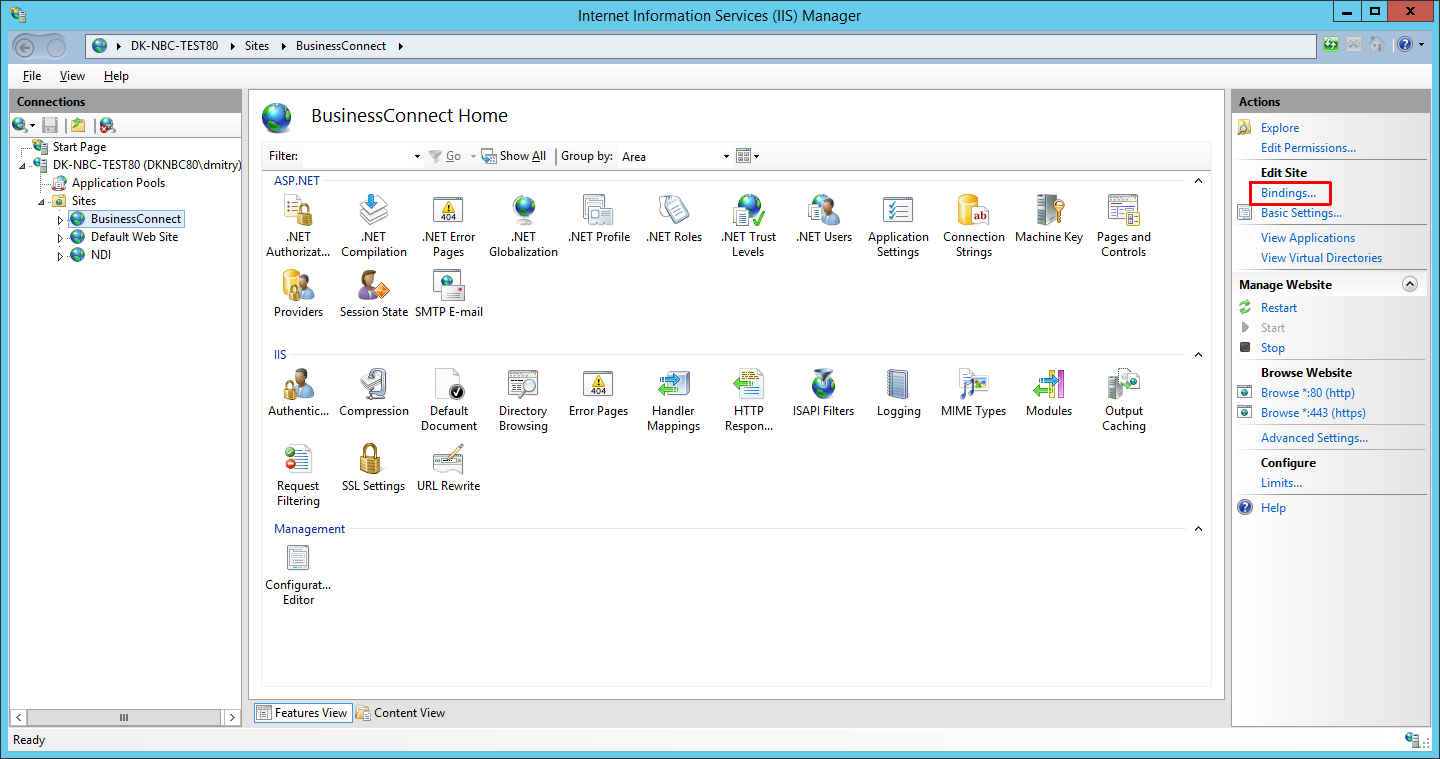
Note: The name of the Mobile Server may vary. -
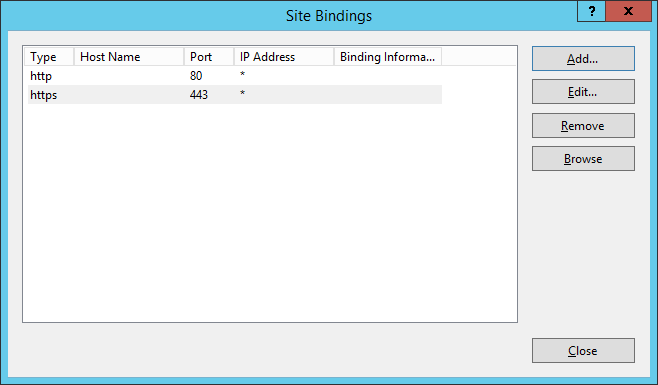
In the Site Bindings dialog box, click
Add.
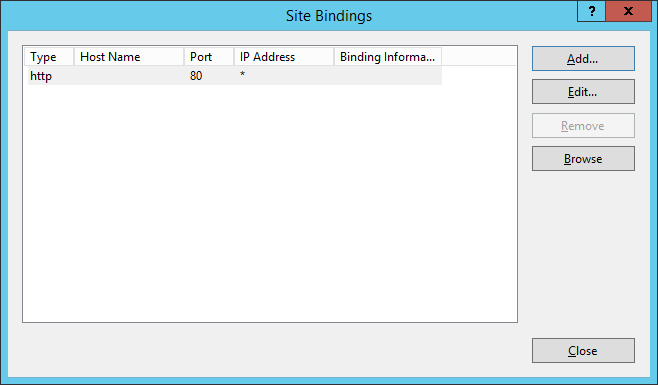
The Add Site Binding dialog shows up. -
In the Add Site Binding list, do the following:
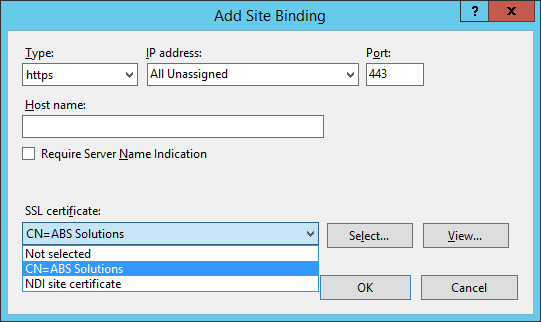
- Select https in the Type list.
- In the IP Address list select All unassigned.
- If you are using Server Name Indication (SNI), then enter the Host name that you are securing.
- If you are using Server Name Indication (SNI), then select Require Server Name Indication.
- Select the appropriate certificate from the SSL certificate list
- Click OK.
-
The list in the Site Bindings dialog box shows both the
http (80) and https (443)
bindings.