Configure the WorkCentre 4265
-
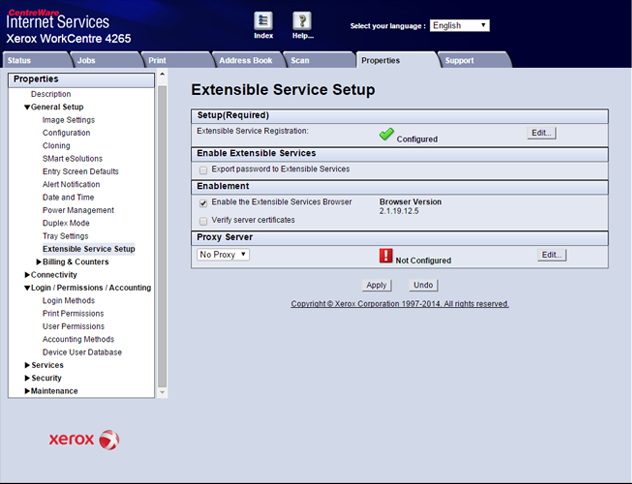
Select the Properties tab, and log in with User ID and
Password if prompted. The Extensible Service Setup screen displays.
-
Click in the Extensible Service Registration row. The Web Services
options display.
-
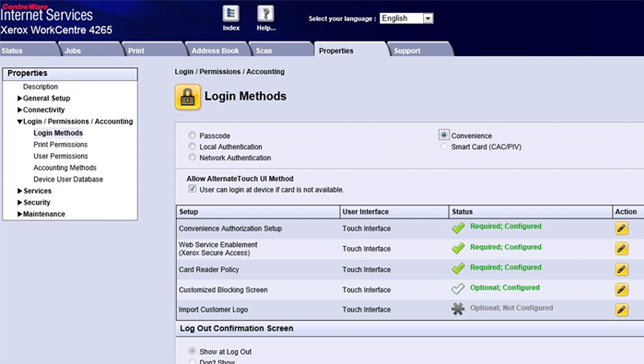
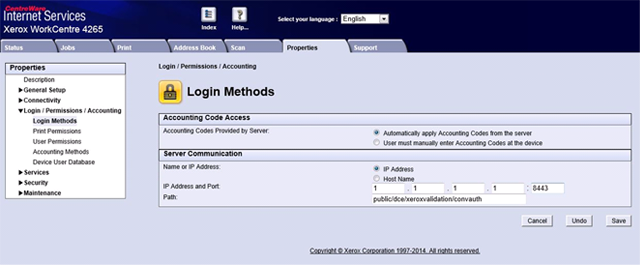
In the left pane, click the folder, then the Login Methods subfolder.
Select Convenience. Select User can login at
device if card is not available option if wanted.
-
Click icon for Convenience Authorization
Setup.
-
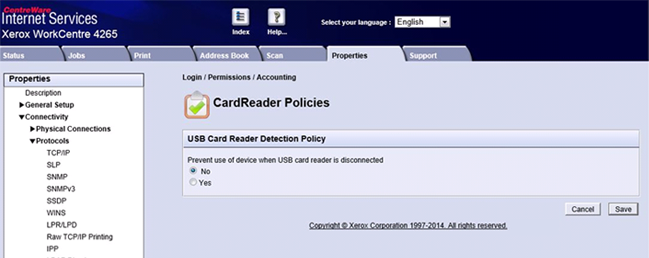
In the left pane, click the folder, then the Login Methods subfolder. Click the icon for Card Reader Policy. Select option for the Card reader
policy and click .
-
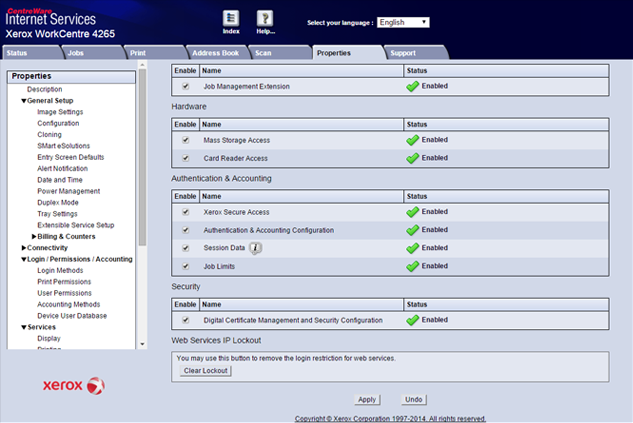
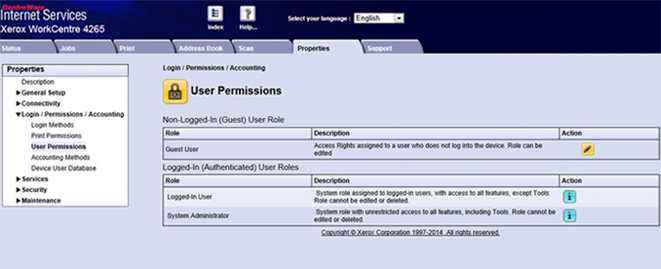
In the left pane select . Select .
-
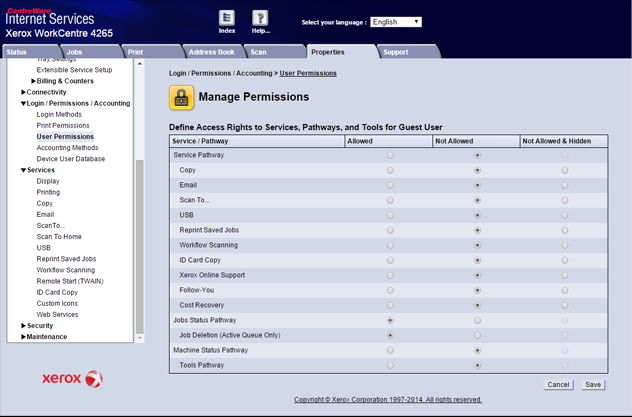
Click icon under Non-Logged-In (Guest) User
Role. Select Not Allowed for services to be
locked and click .
-
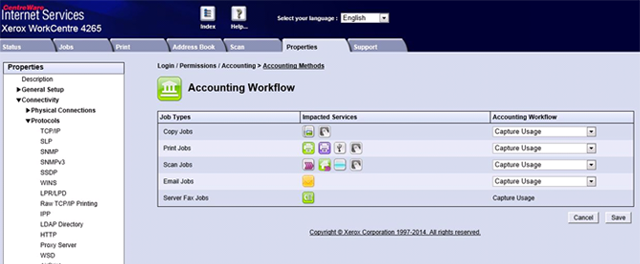
In the left pane, select and then Accounting. Select .
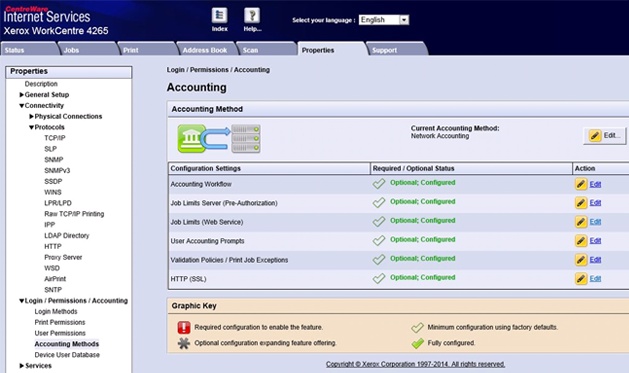
-
Click beside Accounting Workflow. Select . Click .