Installation with Equitrac Only
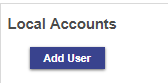
Create an Administrator
-
Under Local Accounts, click Add
User.
-
Select User Name/Password as the authentication
method.

-
On the Edit User Name/Password Account screen, enter
the following information for the new user:
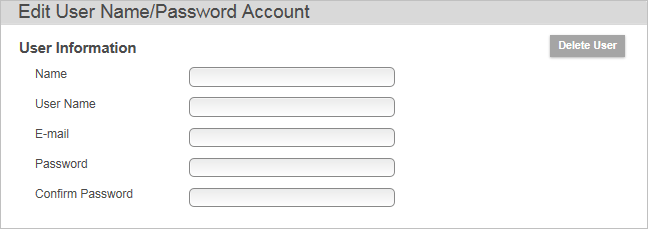
- Name. The full name of the user.
- User Name. This is the display name and can be different from the name.
- Email. The email address associated with the user.
- Password. Enter a password that conforms to your company’s security standards and confirm it.
The new login credentials will be used in Manually install the Equitrac embedded client. -
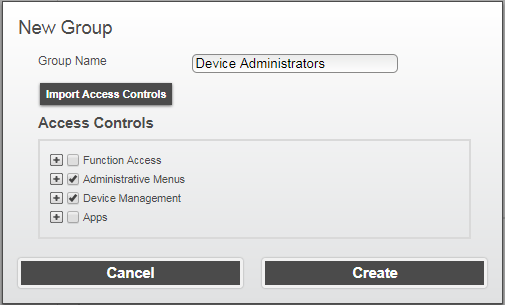
Under Access Controls, select the
Administrative Menus and Device
Management check boxes. Every option must be selected under
these two check boxes.
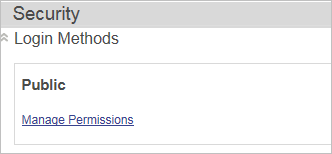
Enable Permissions for Public Users
-
Under Public, click Manage
Permissions.
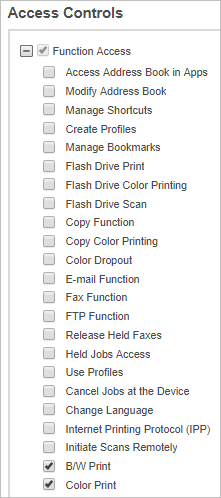
-
In the Function Access section, select the
B/W Print and Color Print
check boxes only.
-
If you want to allow printing from Equitrac servers only, do the
following:
-
In the Restricted Server List field, add the
IP addresses for any servers running Equitrac services to allow
printing.
 Important: After this change, you must now access the device web page from a server on the restricted list.
-
In the Restricted Server List field, add the
IP addresses for any servers running Equitrac services to allow
printing.
Manually Install the Equitrac Embedded Client
-
Click Install an app and browse to the eqlesbaselib.fls file.
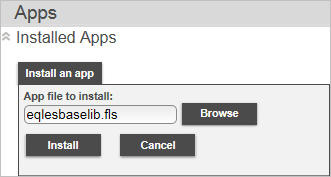
- This eqlesbaselib.fls file must be installed first.
- If you have an eSF 4.x device or lower, install eqlesbaselib.fls by ftp or the DDU tool.
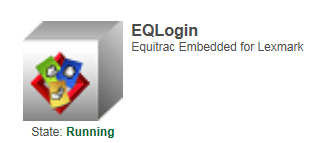
Configure the EQLogin App
-
On the Apps page, click EQLogin. Ensure the
State: Running.
-
In the Equitrac Server URL field, enter the Equitrac
server IP or hostname.

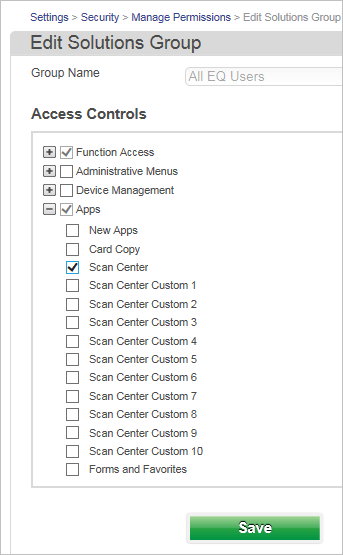
Configure Scan Center Permissions
-
Expand Apps and select Scan
Center. Click Save.
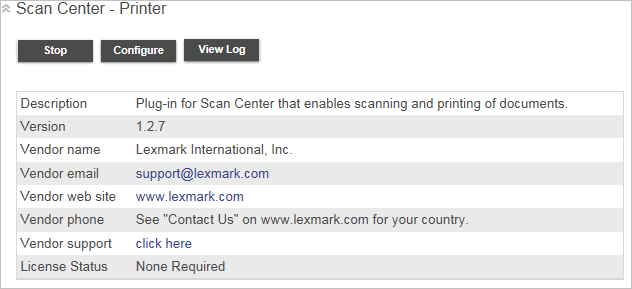
-
Click Installed Apps and click Scan
Center - Printer. Click Stop.
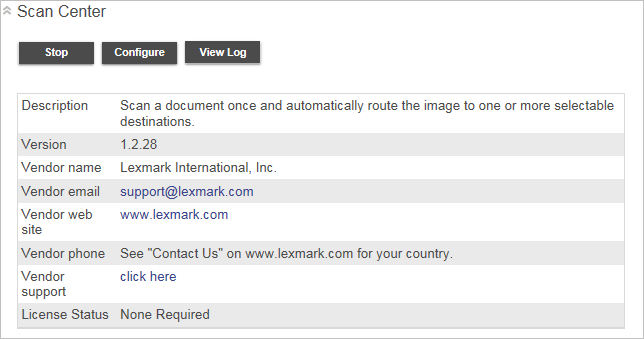
-
Click Installed Apps and click Scan
Center. Click Configure.
-
Select the Show Scan Summary, Print
Confirmation, and Print a page confirming that
the document was successfully sent check boxes and click
Save.

-
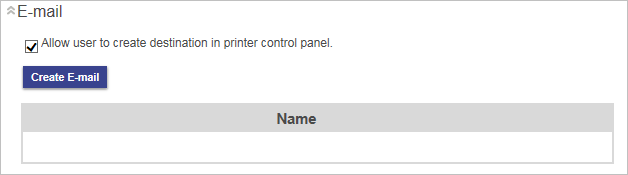
Select the Allow user to create destination in printer control
panel check box and click Save.
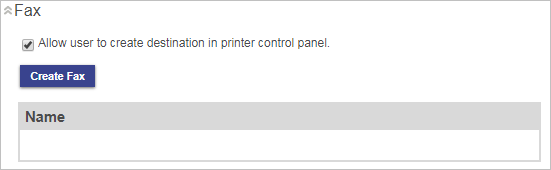
-
Select the Allow user to create destination in printer control
panel check box and click Save.
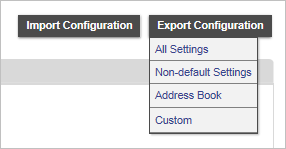
Export Settings Configuration Files
-
Click Settings, then click . Files are saved automatically in your Downloads
folder.