Accelerated Classification Engine (ACE)
The Accelerated Classification Engine (ACE) is a series of advanced connections between the Classification workflow module and the Index workflow module. With ACE, users can create classification profiles while processing documents through a workflow, without the need to enter the configuration area. Users can efficiently and flexibly create advanced classification profiles, so they can focus on the work and not get slowed down with advanced configurations that are better left in the hands of an administrator. With little education, users can create classification profiles that can later be fine-tuned if needed.
To use this feature, a user must have the permission to "Use Accelerated Classification Configuration in Classification Module" in System Permissions.
If the ACE is enabled, the user can configure new classification form definitions and zone profiles from within the Classification module when viewing the classification results in the Classification Validation dialog box. Clicking the gear icon in the classification results opens the ACE dialog box, which we describe later.
Users are also able to edit existing form definitions. If the gear icon is clicked for a document that is already assigned a form ID, the user is prompted to either edit the form definition that is assigned to that document or create a new form definition. When editing an existing form definition, the Zone Profile tab is disabled, so only the Classification Form tab can be modified.
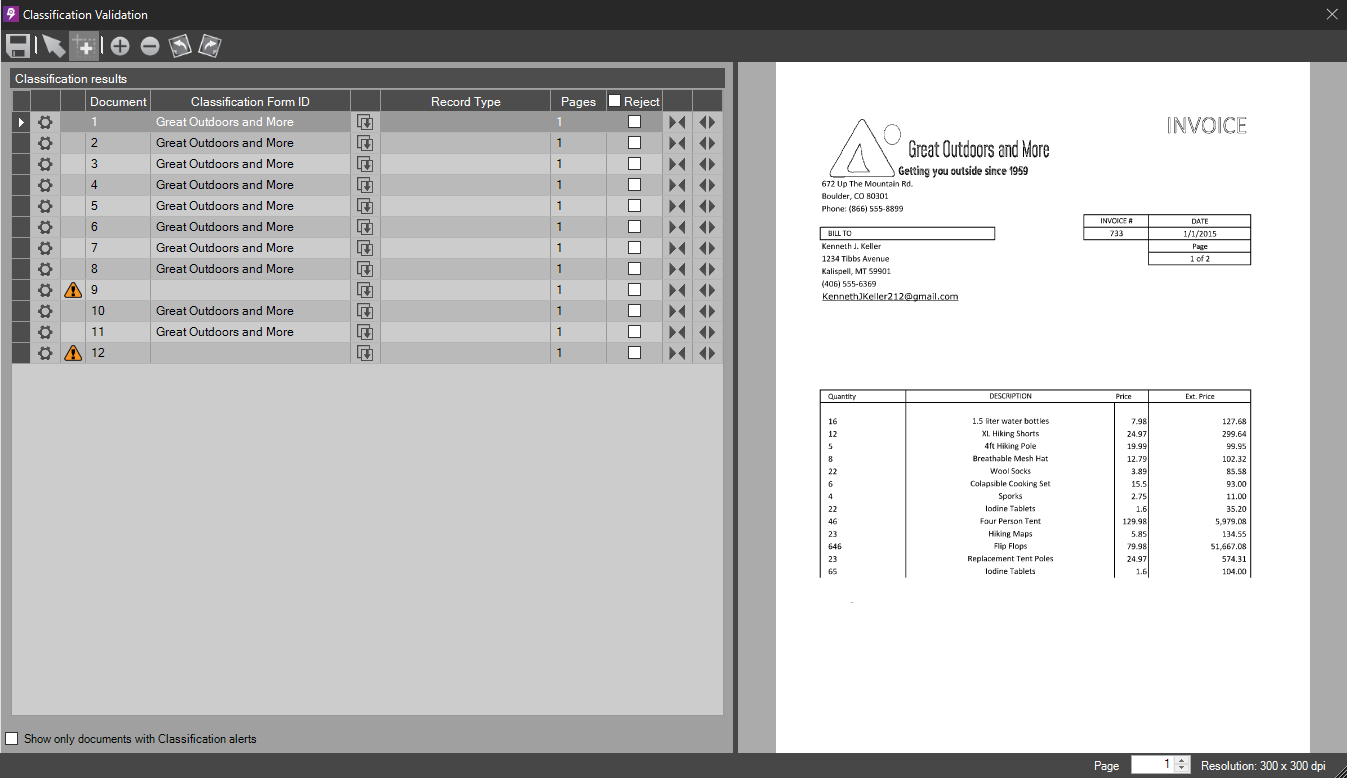
All documents/pages appear within the interface. Users can identify exceptions by seeing the yellow alert triangles in the Classification Alert column.
Users can adjust the interface to show only the documents with alerts by selecting the Show only documents with Classification alerts check box at the bottom of the dialog box.
To begin the Accelerated Classification process, click the gear icon next to the document you wish to create a new classification form for.
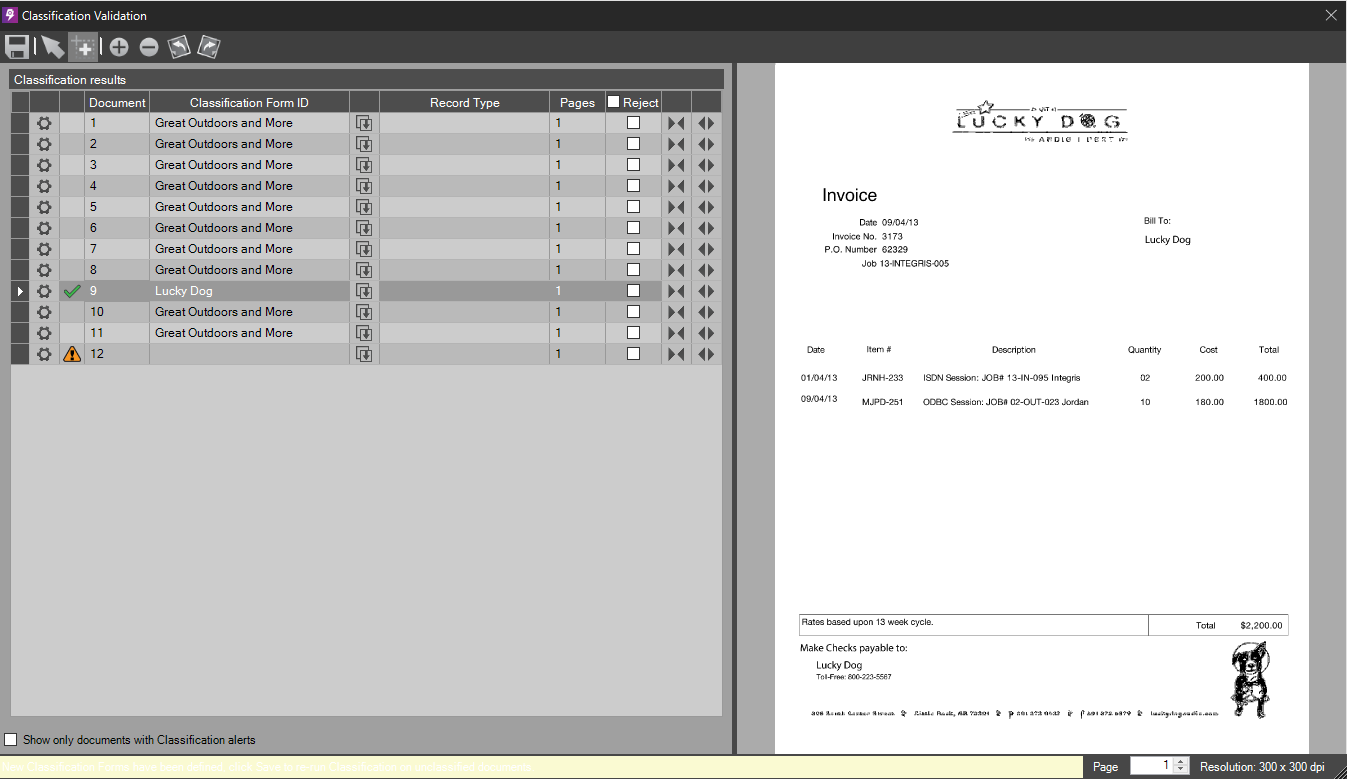
Once a new classification form definition has been configured for a document that failed to be classified, the status icon switches to a green check mark indicating it has already been resolved.
If users would like to re-run Classification on any other documents that failed to be classified, click the Save Classification Corrections toolbar button. This function reprocesses those unclassified documents using any new forms that were defined. If there are still unclassified documents, the Classification Validation dialog box reopens so that additional forms can be defined.
Classification Validation user toolbar
|
Button |
Description |
|---|---|
 Save Classification
Corrections Save Classification
Corrections
|
Saves any changes you made to forms in this dialog box. |
 User Settings User Settings
|
Prompts you to change the sort order or the filter mode.
|
 Pointer Pointer
|
Changes the cursor back to a pointer. |
 Selection Zoom Selection Zoom
|
Users can select an area to zoom in on with this tool. |
 Zoom In / Out Zoom In / Out
|
Zooms in or out on a form. |
 Rotate Left / Right Rotate Left / Right
|
Rotates a form to the left or right. |
The classification results are organized in a grid format. The grid has the following columns:
Classification results
| Column | Description |
|---|---|
 ACE (gear icon) ACE (gear icon)
|
Opens the Accelerated Classification Engine, where you can create a new classification form on the fly. Jump to Accelerated Classification Configuration below for more information. |
| Classification Alert |
Exceptions are marked with yellow triangles, while resolved forms are marked with green check marks. |
| Document |
A sequential document ID that is assigned to each document processed. |
| Classification Form ID |
For properly classified forms, this column is populated with the form ID. This information is missing from pages with Classification Alerts. Each form ID is also a concealed drop-down list that contains all the configured form IDs, so users can easily reassign a form ID to a page or document. Selecting one of these form IDs also changes the Record Type column to the linked record type. |
 Copy Form ID Copy Form ID
|
Users can assign the form ID of the previously classified document to the current document. |
| Record Type |
Displays the linked record type associated with the form ID, if applicable. |
| Pages |
Shows the number of pages for each document. |
| Reject |
This column can be used to reject one or all of the documents in the Validation interface. Once users have worked through all documents, they can click the Save button to save the changes and move on in the workflow. Users are then prompted to run Batch Corrections before they can proceed. Users can also just cancel out of the Validation interface and proceed to the next workflow step. If users have a QA step following Classification in the workflow, this function can also be utilized to adjust the documents and make corrections. Capture profiles with record types enabled have a Record Type column that is also a list of all configured record types within QA. This column can be used to reassign incorrectly classified documents. |
 Combine with previous
document Combine with previous
document
|
Combines documents together. |
 Split the document at the
currently selected page Split the document at the
currently selected page
|
Splits the selected document at any page. The user can switch pages by adjusting the Page number found on the bottom right corner of the validation dialog box. When you click this button, a dialog box appears with the following options:
|
In PSIcapture 7.7, ACE functionality has been added into the Index workflow step, implementing a new Accelerated Zone Profile Configuration toolbar for editing and creating new Zone Profiles with indexing. Some unnecessary user prompts were removed while making changes.
In order to enable ACE on your specific capture profile within an indexing workflow step, make sure the Enable Accelerated Classification Configuration setting is enabled in the Index workflow.
Once enabled, the same ACE functionality detailed throughout this topic is now available in the Index workflow step of your PSIcapture profile.
To add a new Classification profile or zone profile, use the add or edit buttons in the Indexing workflow step near the listed Classification profile.
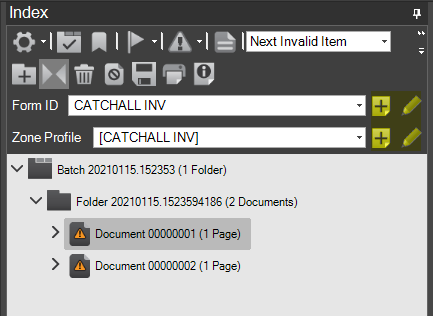
Clicking these buttons opens the standard ACE interface, where users can create classification and zone profiles on the fly. Once saved, the user is returned to the Index (or other) workflow step.
Accelerated Classification Configuration
In the Accelerated Classification Configuration dialog box, users can define both a new classification form definition and an accompanying zone definition profile. When opening the ACE dialog box, the current document is automatically loaded into the viewer.
With the Verified Classification Match button, the user can verify that the loaded document matches the classification form settings being edited.
Accelerated Classification Configuration toolbar
| Button | Description |
|---|---|
| Save |
Saves the current classification form created in ACE. |
| Copy Classification Form |
Opens a Selection dialog box to select which previously configured classification form to copy. |
| Verify Classification Match |
Attempts to verify whether the classification form matches the current document. If the verification fails, an error message appears stating that the "Form classification was not successful." |
| Regular Expression Builder Options |
Opens the Regular Expression Builder Options dialog box. |
| Display Mode |
ACE supports two different editing modes: Standard and Advanced. These modes can be customized in the Classification workflow to define which settings show up in each mode. By default, the standard mode displays the basic Classification and Zone Definition settings that are predominately used. Advanced mode displays all the options that are available when defining classification forms and Zone Definition Profiles from within the Configuration module. |
Classification Form tab
The process of setting up a classification form definition is basically the same as setting one up in the Configuration module. The two main differences are:
-
In the Viewer, users can click the words to build Rules, Last Page Rules, and Line Item column headers for Table Extraction.
-
In order to resize a zone for a rule, users must toggle off Point and Click Item Creation using the button above the Classification Viewer.
Configuring a Zone Definition Profile to correspond with the new classification form definition is optional. If the new form does not require a Zone Definition Profile, simply select Use existing Zone Definition Profile / No Profile Required.
If users are defining a Zone Definition Profile, they can either start with an empty profile or copy an existing profile to use as a starting point. To copy an existing profile, click the Copy Existing Profile to select which profile to make a copy of. After selecting the profile, the zones for that profile are loaded. They can then be adjusted to suit the needs of the current Form. If users always want to start with a default Zone Definition Profile, one can be configured on the ACE settings.
Whether users are copying an existing profile or starting from a blank profile, the setup of a Zone Definition Profile works the same as when setting up a profile in Configuration. The two main differences are:
-
The Zone Name is displayed as a drop-down list containing the names of all the zones that are being used to populate document index fields on the capture profile. As a result, the user can easily create new zones and ensure they are named correctly to match up with the naming currently being used on the capture profile.
-
If either the classification form ID or record type is selected as the trigger for this Zone Definition Profile, it is automatically configured to use the form ID or record type defined on the classification form definition.
If the option to mark imported forms as non-validated was selected,
you can enable form validation using ACE on the
Classification Settings
dialog box. If this option is enabled, forms that match a non-validated form
during Classification are marked as exceptions and are displayed on the
Classification Validation dialog box with an icon indicating that they are not
validated (yellow triangle with exclamation mark
 ):
):
To validate the form, open the ACE dialog box and click Save. You can check the form definition for accuracy, make any changes you need to, add a corresponding Zone Definition Profile, and so on.
When clicking the ACE button (gear icon), you are prompted to either edit the existing form that is assigned to that document or create a new form.
After saving the changes in the ACE dialog box, the status of that document (and any that are classified as that same form type) is updated in the list of documents to validated (green check mark icon).
After validating all forms, click the
Save button
on the toolbar to finish
the Classification process on those forms and on any other that were modified.
Now that the forms are validated, the next time those types of forms are sent through Classification, they are classified without raising an exception.