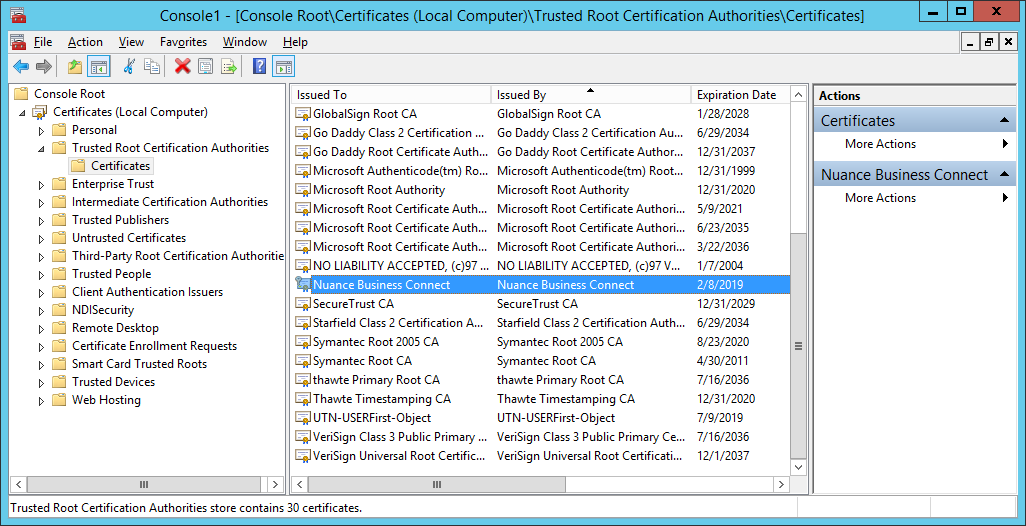
Add the Certificate to the AutoStore Server
- Copy the certificate to the host machine that is running AutoStore server.
- Start the Microsoft Management Console. (On the Start menu, click Run, type mmc.exe, and then click OK.)
- Select .
- On the Add or Remove Snap-ins screen, double-click Certificates from the list of Available snap-ins.
-
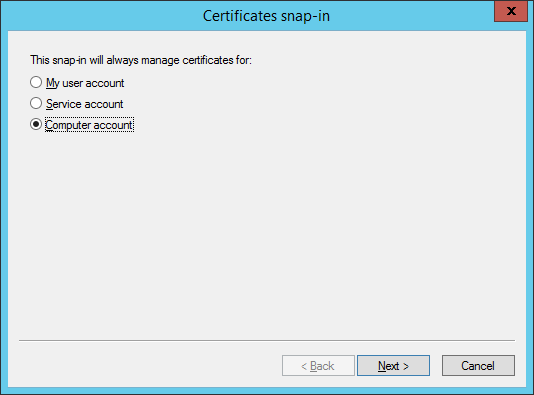
On the Certificates snap-in screen, select to manage
certificates for Computer account, and then click
Next.
-
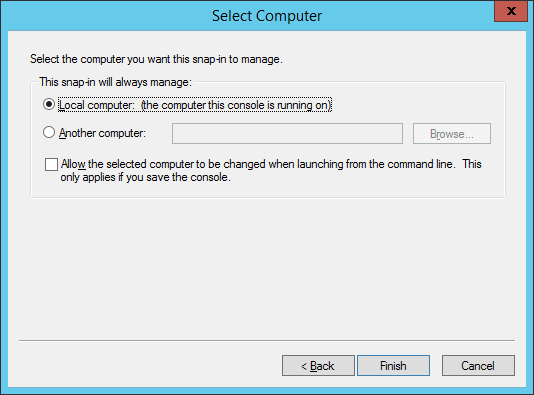
On the Select Computer screen, ensure Local
computer is selected, and then click
Finish to set up the MMC Certificates snap-in to
manage the local computer.
- Click OK to close the Add or Remove Snap-in screen.
- In the left navigation pane of the MMC console, expand Certificates (Local Computer).
-
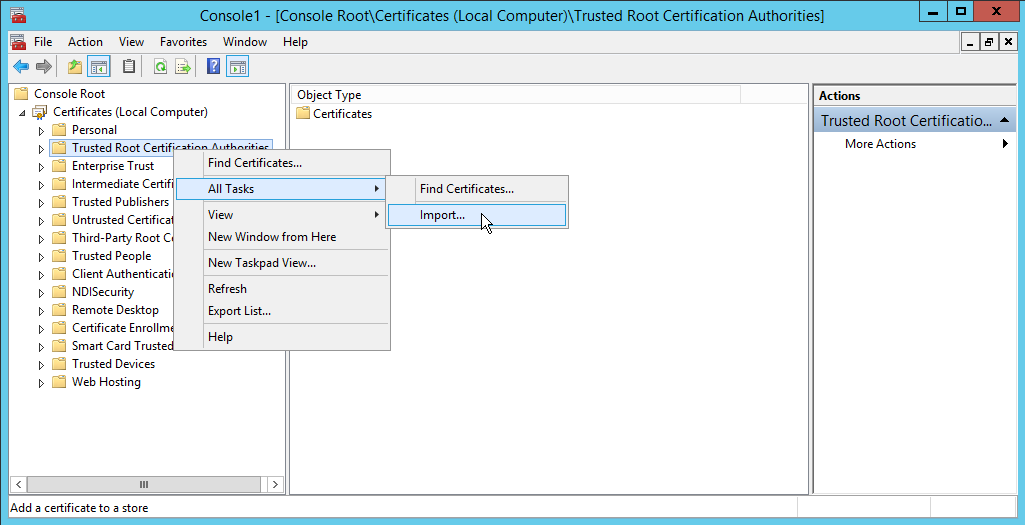
Expand the Certificates (Local Computer) folder and
right-click Trusted Root Certification Authorities, and
select .
- On the Certificate Import Wizard Welcome screen, click Next,
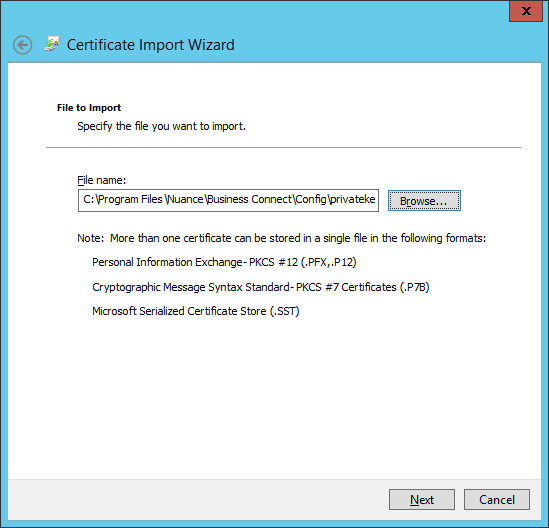
- On the File to Import screen, click the Browse button.
- Select and Open the Personal Information Exchange (.pfx) file that was copied to the host machine, and then click Next.
-
Enter the Password used to generate the certificate on
the Business Connect Server, and then click Next.
-
Ensure the Certificate store is set to
Trusted Root Certification Authorities, click
Next, and then click
Finish.

-
In the MMC console navigation pane, go to , and confirm that the certificate has been added.
